Portrait oriented case: Difference between revisions
(reverting spam) |
|||
| (13 intermediate revisions by 12 users not shown) | |||
| Line 3: | Line 3: | ||
This is a second attempt at a case design for the [[MyPhone]], starting from scratch with a different approach. Since all component parts are dimensioned in mm, this case is also in mm. It is constructed as an assembly model, and each component part is modelled separately. These parts can easily be imported into other modelling packages, they are used to figure out internal layout, and to help specify mounting points. | This is a second attempt at a case design for the [[MyPhone]], starting from scratch with a different approach. Since all component parts are dimensioned in mm, this case is also in mm. It is constructed as an assembly model, and each component part is modelled separately. These parts can easily be imported into other modelling packages, they are used to figure out internal layout, and to help specify mounting points. | ||
The case thickness is set by the components, the | The case thickness is set by the components, the 1.0 case design is 18mm thick, which is made up of | ||
* 2mm for the front bezel - the LCD is set into the bezel about half way | * 2mm for the front bezel - the LCD is set into the bezel about half way | ||
| Line 11: | Line 11: | ||
* 2mm for back case | * 2mm for back case | ||
= 18mm total | = 18mm total | ||
The 2.0 version is 21mm thick, to allow more space for components based on gumstix cards, and has more internal structure to clip in the LCD, and holes for a connector at the base, and an antenna at the top. The 1.0 design had a warping problem in the front (main) part, but the back stayed flat, so I recommend printing orientation leaning back at 45 degrees. The 2.0 design was done this way with 2.6 cu-inch of model and 1.4 cu-inch of support material. | |||
The 3D printer can't go as thin as injection molded cases. Its like a 3D jigsaw puzzle to get parts to fit! | The 3D printer can't go as thin as injection molded cases. Its like a 3D jigsaw puzzle to get parts to fit! | ||
The design has been created using Alibre Express, which is free (they emailed me a licence key valid for a year). Its a Windows based, entry level parametric CAD package with some advanced features disabled. The part files are available in Alibre native format and in IGES, and the case design is available in STL format ready to be printed in ABS plastic on the 3D printer. The first one has been printed, contact me (Adrian) for the latest design files, a snapshot has been uploaded | The design has been created using Alibre Express, which is free (they emailed me a licence key valid for a year). Its a Windows based, entry level parametric CAD package with some advanced features disabled. The part files are available in Alibre native format and in IGES, and the case design is available in STL format ready to be printed in ABS plastic on the 3D printer. The first one has been printed, contact me (Adrian) for the latest design files, a baseline snapshot has been uploaded, but its changing fairly often. | ||
Files for the 1.0 design: | |||
* STL files for the first printed prototype - zipped pair of parts [[Media:Case37.zip]] | * STL files for the first printed prototype - zipped pair of parts [[Media:Case37.zip]] | ||
* Alibre format Case front and back [[Media:Case37alibre.zip]] | * Alibre format Case front and back [[Media:Case37alibre.zip]] | ||
Latest revision as of 22:43, 20 February 2008
Case and Component Models for a 3.7" Portrait LCD
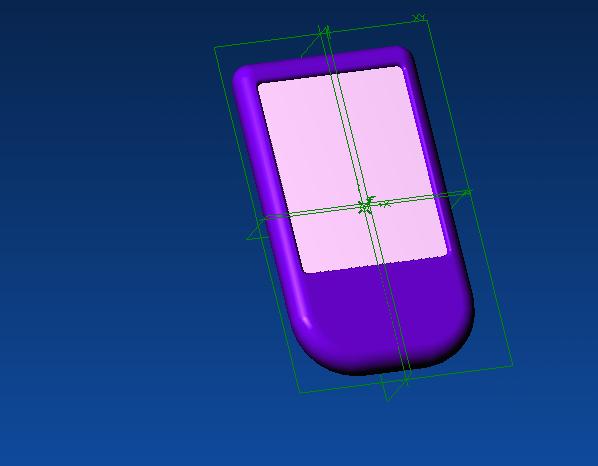
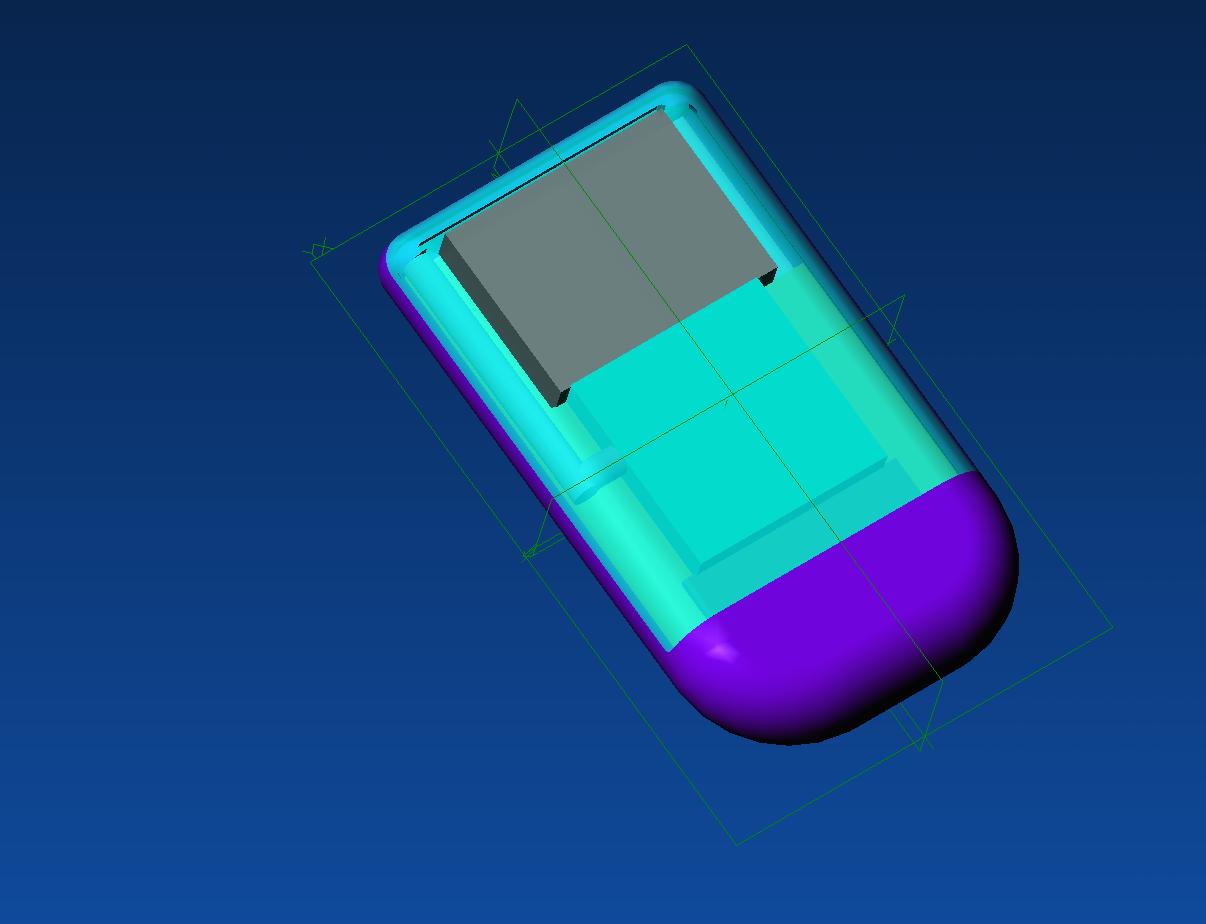
This is a second attempt at a case design for the MyPhone, starting from scratch with a different approach. Since all component parts are dimensioned in mm, this case is also in mm. It is constructed as an assembly model, and each component part is modelled separately. These parts can easily be imported into other modelling packages, they are used to figure out internal layout, and to help specify mounting points.
The case thickness is set by the components, the 1.0 case design is 18mm thick, which is made up of
- 2mm for the front bezel - the LCD is set into the bezel about half way
- 5mm for the rest of the LCD (it has some components on the back, but not in the area where the battery will be)
- 9mm for components = 9mm for the battery
- OR 1mm space under PCB, 1mm for PCB and 7mm for a Telit module
- 2mm for back case
= 18mm total
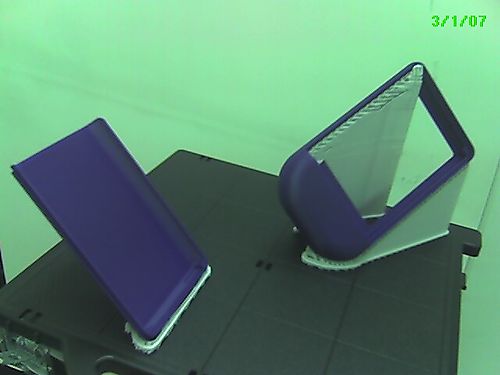
The 2.0 version is 21mm thick, to allow more space for components based on gumstix cards, and has more internal structure to clip in the LCD, and holes for a connector at the base, and an antenna at the top. The 1.0 design had a warping problem in the front (main) part, but the back stayed flat, so I recommend printing orientation leaning back at 45 degrees. The 2.0 design was done this way with 2.6 cu-inch of model and 1.4 cu-inch of support material.
The 3D printer can't go as thin as injection molded cases. Its like a 3D jigsaw puzzle to get parts to fit!
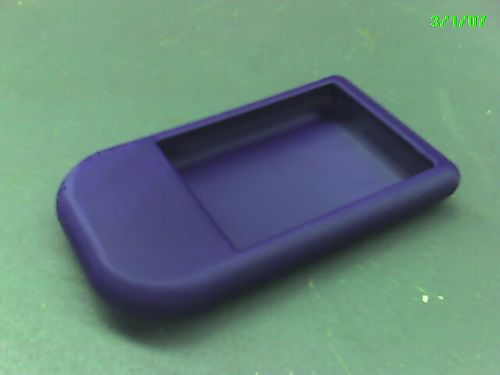
The design has been created using Alibre Express, which is free (they emailed me a licence key valid for a year). Its a Windows based, entry level parametric CAD package with some advanced features disabled. The part files are available in Alibre native format and in IGES, and the case design is available in STL format ready to be printed in ABS plastic on the 3D printer. The first one has been printed, contact me (Adrian) for the latest design files, a baseline snapshot has been uploaded, but its changing fairly often.
Files for the 1.0 design:
- STL files for the first printed prototype - zipped pair of parts Media:Case37.zip
- Alibre format Case front and back Media:Case37alibre.zip
- Alibre format assembly model and misc components Media:Case37assembly.zip not including front/back
- Exported IGES format Case front and back Media:Case37IGES.zip
- Exported IGES format Misc components for assembly model Media:components.zip (LCD, GSM, GSM Ant, Batt, CPU, PCB)


