GettingTheConsoleLCDVXWorking
Intro
This is a simple introduction to how I got my Gumstix Verdex XML4-BT (400MHz PXA 270 with BlooTueth) working with the ConsoleLCD-VX and the Samsung 4.3" LCD.
Hardware
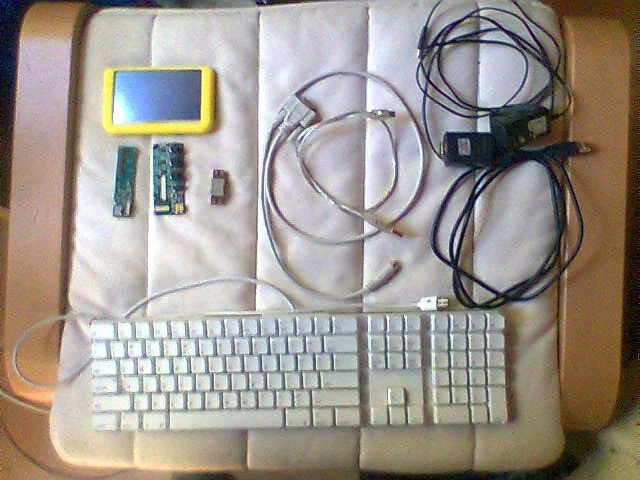
Things You Should Have
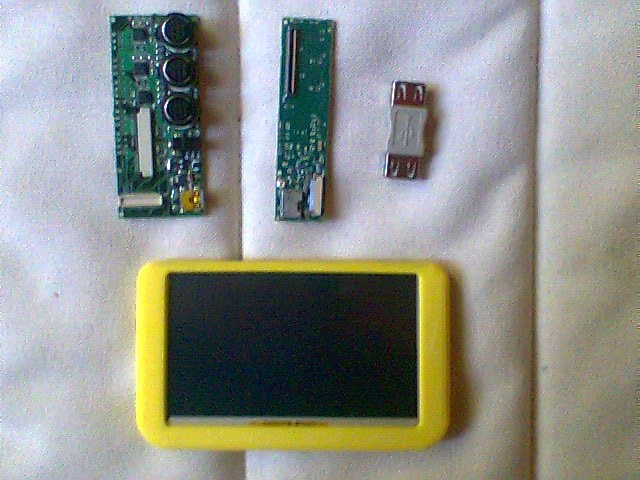
- A Gumstix Verdex Board of some sort (I have the Gumstix Verdex XML4-BT)
- A ConsoleLCD-VX
- A Samsung 4.3" LCD (I bought mine from GumStix)
- A 9-Pin DIN to Mini-DIN 8 null modem serial cable. Again, you can get them at the gumstix online store, it's easier than driving to Fry's and finding they don't carry them.
- A USB-A to Mini-USB cable.
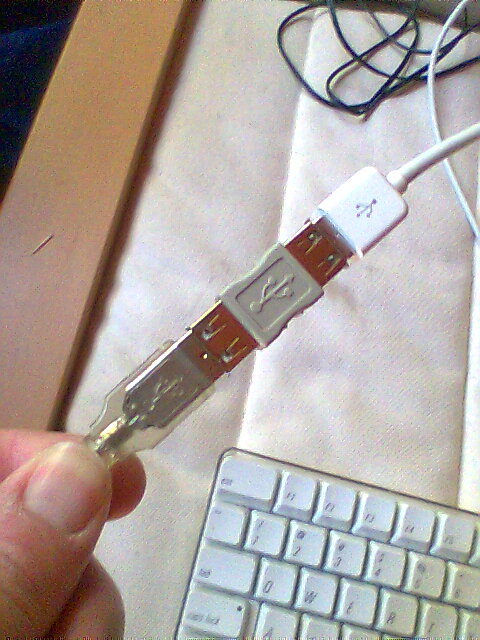
- A female to female USB A adapter. Again, Fry's doesn't carry them, so you can buy them from the gumstix online store.
- A Power Supply for the board. (I use the 4V supply that came with my Basix Waysmall.)
- A USB Keyboard
- (optional) a USB to Serial Converter if you don't have a "real" serial port.
- A Linux box. I like xubuntu.
- A terminal program that knows how to send files over a serial port via ymodem or kermit protocols. (I use Dave Alverson's Z-Term on MacOS-X and Miniterm on Linux.)
Assembling the Hardware
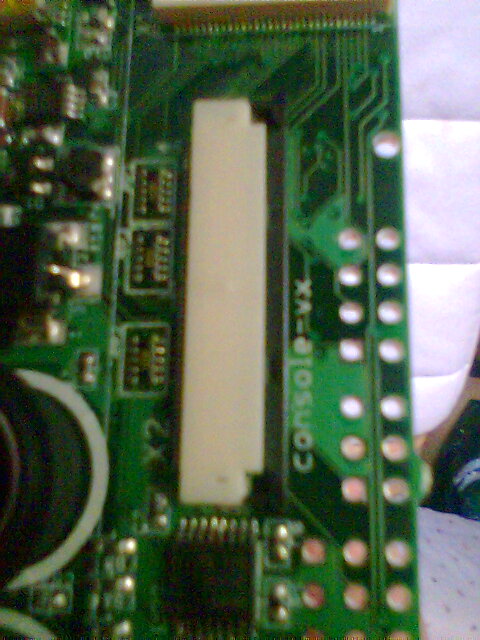
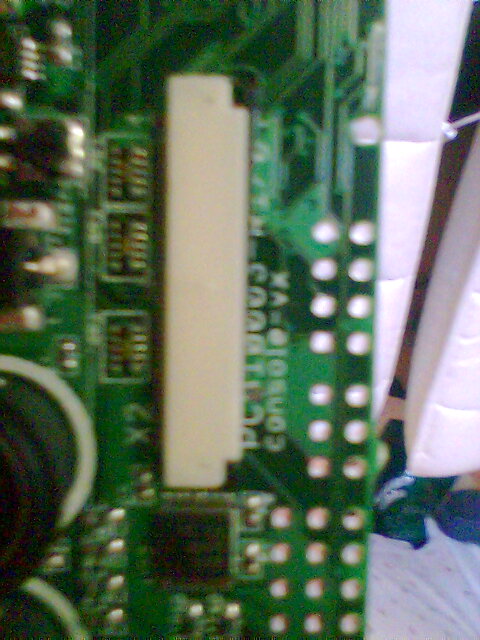
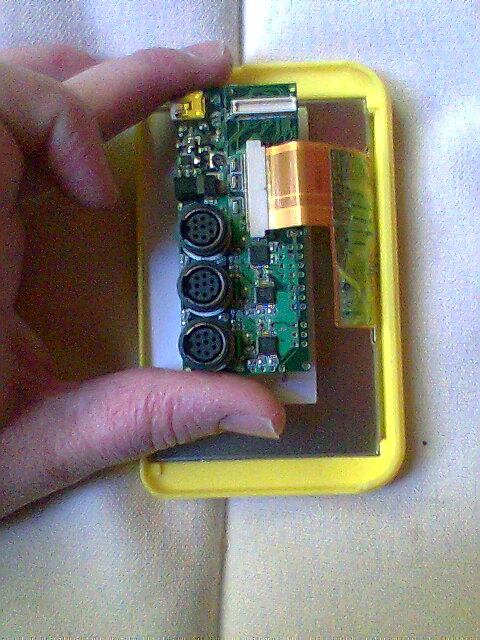
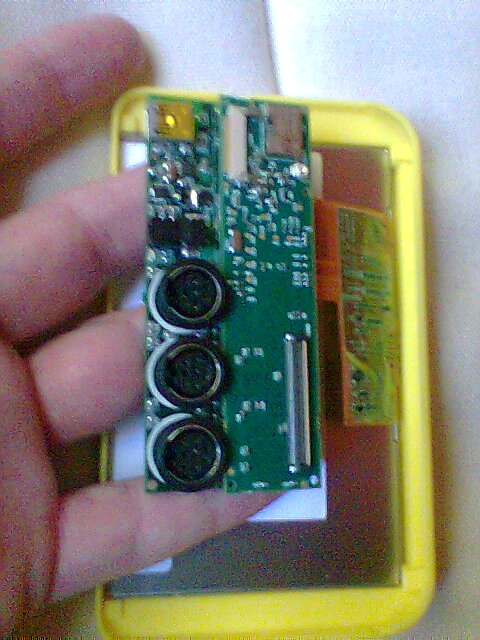
- Connect the LCD to the ConsoleLCD-VX. The connector was a bit odd, and it threw me for a few minutes. If you look carefully at the connector, there's a "drawer" on the bottom of the connector made of black plastic. This drawer pulls out about a millimeter to allow you to insert the ribbon connector from the LCD. On either side of the connector, opposite the long side that has the soldered leads connecting it to the board, you'll see a tiny black plastic "hook." if you pull on both of these hooks out towards the long edge of the board, you'll find they slide out. Once you've slid this thing out, the ribbon cable slides in pretty easy. Once the ribbon connector is in place, slide the "drawer" back in by pressing on both of the "hooks." I found that a sharp pencil helped with this step.
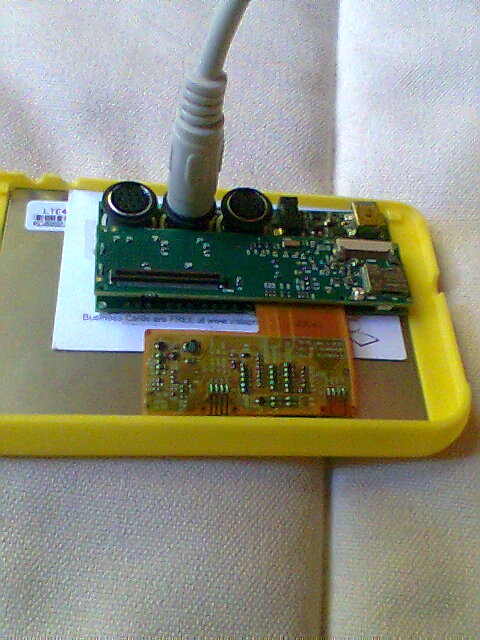
- Connect the Verdex to the ConsoleLCD-VX. Note that it connects so the Verdex is over the consoleLCD-vx board. It does not connect like a tweener (the tweener, if connected, would hang out over the board.) There is a slight mechanical interference here, or at least there was on my revision.
- Connect the serial cable to the middle serial port on the ConsoleLCD-VX board.
- Connect the other part of the serial cable to your system. (I use a Macintosh to connect to the Verdex, but a Ubuntu Linux box to compile things. There's no reason why you can't use a Linux machine to connect to the system. I'm just using a Mac 'cause my Linux laptop is very, very slow.)
- Use the USB gender changer to connect your USB keyboard to your USB A to Mini USB cable. (If you're one of the rare breed with a USB keyboard that terminates in a Mini USB connector, you don't have to do this.)
- Connect the keyboard to the Mini USB connector on the ConsoleLCD-VX.
- Apply power to the board.
Troubleshooting
- Careful... these connectors don't like a lot of stress. I'm using the stand from my Nokia 770 tablet to position everything "just right."
- If you don't get a nice yellow light come on when you plug the power cable into the ConsoleLCD-VX, then you may have a defective board. I think I saw something about this on the GumStix mailing list.
Connecting to the Board
You should now have two connections to the board: a serial connection (through which you can update the flash image) and the USB keyboard (that is mildly nicer interface, IMHO, than the serial link.) The default connection settings are: 115200 bps, 8-bit, No Parity, 1-stop bit.
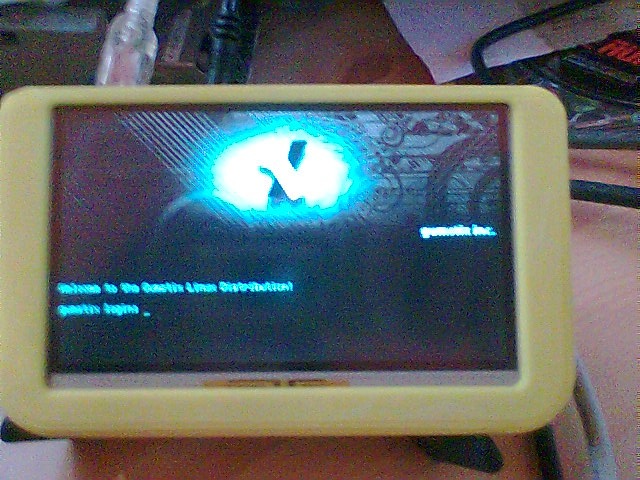
You should see a login prompt at least on the serial connection. If you don't see anything on the LCD, you probably have to reflash the boot loader, root file system and kernel. In case you forgot, the root password on all GumStix boards is: 'gumstix' (without the quotes.)
Software
Preparing your Linux Box
- Find a Linux Box. I'm using a VMWare virtual machine using Xubuntu 7.04. Feel free to use something else, but you're on your own if you have problems.
- Download updated packages. I did this with the command
Adrian mentioned that his Ubuntu system came with the multiverse server commented out of thesudo apt-get install build-essential libncurses5-dev bison flex texinfo zlib1g-dev gettext libssl-dev libc6-dev make g++ gcc automake1.9 subversion/etc/apt/sources.listfile. This wasn't a problem for me, but if you suspect it is, then uncommenting the lines with "multiverse" in the sources.list file and issuing the command
should do the trick.sudo apt-get update - Check to see if
/bin/shis a link todash. If it is, you want to change that with the following:sudo /bin/bash
cd /bin
rm sh
ln -s bash sh - If you don't have
/bin/gzcat, create it with the command:sudo /bin/bash
cd /bin
ln -s zcat gzcat - And now you're ready to download the source:
svn co http://svn.gumstix.com/gumstix-buildroot/trunk gumstix-buildroot
Start Building
- You may want to review the Buildroot page at the GumStix wiki. It's where I got most of this process. What we're trying to do in this step is to produce the files:
- rootfs.arm_nofpu.jffs2
- u-boot.bin, and
- uImage
- And start the build process!
If you look closely, you'll find a file in the buildroot directory namedcd gumstix-buildroot
rm .config
make defconfig.defconfig. You'll be tempted to assume therm .configline above is a misprint and delete the.defconfigfile. Don't do this. Themake defconfigcommand will ask you two questions: what kind of CPU you have and how fast it is. I have a 400MHz Verdex (PXA270), so my answers were "Gumstix Verdex" and "400 MHz". Your mileage may vary. - Next, issue the command
It will ask you what kind of LCD you have. I have the Samsung display, so (big shock) I selected that option.make - Depending on the speed of your CPU, you may compile quickly. Or... like me, you may have time to go out and see a movie or two and come back. I discovered that my system will stop without error, but without building a root filesystem. I just typed in
makeagain and everything built fine.
Loading the Software
Okay, this is where you can really hork your device if you're not careful. If you're in any way widgey about reflashing things, then you should get someone else to do this for you. But... I've done it a couple times without a problem.
Disclaimer: If you damage your device by following these instructions, it 'aint my fault. I'm providing them to the community as a service, I expect you to know what you're doing and to not do anything bad.
Reflashing the Boot Loader (u-boot.bin)
- Find the file
u-boot.bin. It should be in yourgumstix-buildrootdirectory. - Get ready to quickly hit the spacebar.
- With the terminal up and running, recycle power on the device.
- Quickly hit the spacebar to stop the autoboot sequence. You should see a prompt that says
You're now in the boot loader.GUM> - Type the command
. The boot loader is now waiting for you to upload the new u-boot.bin. Use your terminal program's "send ymodem" command to send theloadyu-boot.binfile. This shouldn't take too long; I think it takes my setup less than a minute. - Type the commands
This will unprotect the boot loader blocks and erase them. Be very, very careful. If you lose power after these commands, but before the following command finishes, you'll seriously hork your Verdex. These commands will take a small amount of time, but nothing major.protect off 1:0-1
era 1:0-1 - Type the command
to copy the boot loader image into the proper flash location. Again, this will take a small amount of time, but certainly less than 5 minutes.cp.b a2000000 0 ${filesize} - Type the command
This turns protection back on for the boot loader. This helps prevent accidental erasure while you're updating the root filesystem and the kernel.pro on 1:0-1 - Now use the
command to reset the board. Get ready to quickly hit the spacebar again.res
Reflashing the Root Filesystem and Kernel
- Find the file
rootfs.arm_nofpu.jffs2. It should be in yourgumstix-buildrootdirectory. - Get ready to quickly hit the spacebar.
- With the terminal up and running, recycle power on the device.
- Quickly hit the spacebar to stop the autoboot sequence. You should see a prompt that says
You're now in the boot loader.GUM> - Type the command
. The boot loader is now waiting for you to upload the new root filesystem image. Use your terminal program's "send ymodem" command to send theloadyrootfs.arm_nofpu.jffs2file. This takes friggin' forever. It takes about 25 minutes or so on my system. - Type the following compound command:
This command erases everything in flash except the two blocks that contain the boot loader. Be very sure you protected the boot loader with thejera all && cp.b a2000000 40000 ${filesize}pro on 1:0-1command in an earlier step. After erasing flash, it copies the root image to the appropriate place in memory. This also takes friggin' forever. But the nice thing is both the erase command and the copy command spit out dots to tell you it's still working. If this takes more than 10 minutes, I would start to worry. - Find the file
uImage. It should be in yourgumstix-buildrootdirectory. - Type the command
. The boot loader is now waiting for you to upload the new kernel. Use your terminal program's "send ymodem" command to send theloadyuImagefile. This takes a minute or so, so don't go too far away. - Type the commands
These commands install the kernel into the proper location and then load it in preparation for booting.katinstall 100000
katload 100000 - Type the command
to boot.bootm
